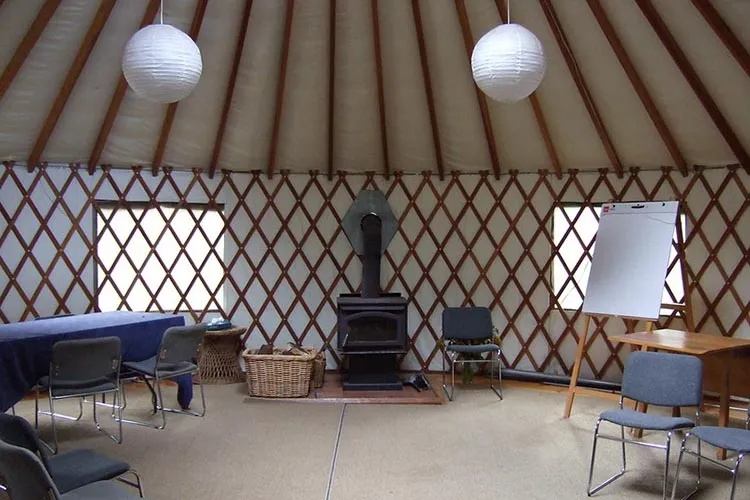
Living in yurts dates back to 400 CE among nomadic people in the vast, grassy steppes of Central Asia. They served as temporary shelters and were made using sticks and animal skin. The original yurt has evolved throughout the years and has made a comeback as an affordable, eco-friendly, and luxurious living space for many people.
The increased demand for yurts includes those seeking a budget-friendly option to the high cost of homes or a way to add additional living space at your cabin or for income-producing vacation rentals. Along with the surge in popularity of yurt living, comes ways to make them more modern and comfortable. Today, yurts come with many luxuries whether you are seeking an alternative way to live or building additional living space at cabins and vacation properties.
One of the most common upgrades to modernize a yurt is installing electricity to be used for lighting, heating, cooling, and operating appliances.
Power sources

If you’re interested in installing electricity in a yurt, check with a qualified electrician to prepare for the installation process. An electrician can assess the area for available electric utilities. If your property has an electrical hook-up, the process can be fairly simple.
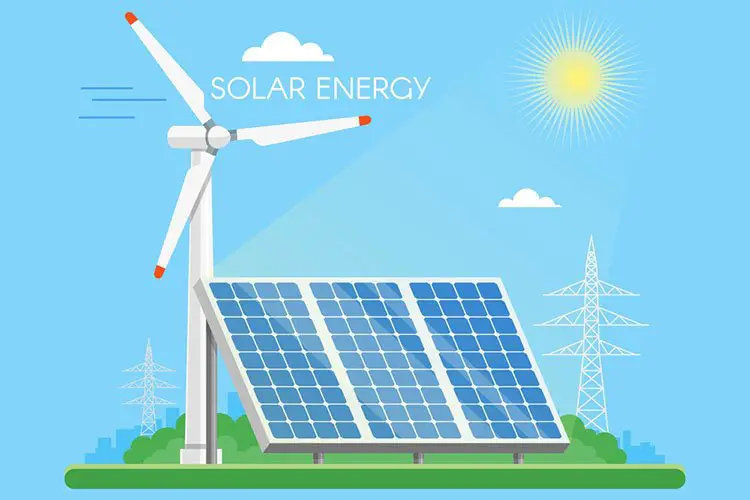
If electricity is not available at your yurt, solar or wind power may provide an alternative source for electricity.
Solar energy has become very popular with yurt dwellers, especially for those living off the grid, solar power can be an ideal alternative for electricity. It can also be used to complement your electric power. Solar power does not require any location-specific requirements other than an abundance of sun (solar power will decrease on days when sunlight is less available). It is also the most budget-friendly alternative to traditional energy sources.
Unlike solar power, wind power is only available in certain sites where strong winds prevail throughout the year. It is, however, a viable electricity source for your yurt if you live in a windy area. The batteries you use to store wind power should have enough space to store energy when the wind is not blowing.
Solar Panel Installation
An electrician will place solar panels above the yurt, facing south, and connect it to storage batteries to get the most of solar energy. Solar panels are connected to batteries and a load center that runs electricity to power outlets inside the yurt. When the sun is available, it will charge the batteries.
After identifying the possible source of power that you will use, the next step will involve having a subpanel installed inside the yurt. A subpanel is a smaller electrical service panel for distributing power to specific parts of a structural building. It would be best to acquire a subpanel with enough slots for the breakers you will need and mount it on your wall between two studs.
Electrical Wiring through Platform Floor or Interior Walls
Electrical wiring to introduce electricity in a yurt can be achieved in two ways. One way is to wire electricity through the platform floor. Since running electric wires between the flooring surface and the subfloor is a safety hazard, the wires should run below the subfloor.
The first step in running wire through the floor involves drilling holes in the subfloor, primarily through the bottom near the wall. The next step is feeding the electric wire through the holes, running it beneath the subfloor, and feeding it back to the service panel.
Another way to introduce electricity in a yurt is to run wires through the interior walls. If your yurt has interior partition walls, electrical wires can be run through them just like in conventional homes. Your electrician will put the wires along the area where the subpanel is installed on the wall for easy access.
It is important to understand that not any electrical wire can be used in your yurt. An electrician will calculate which gauge wire to use in your electrical system based on your power needs. The gauge is calculated based on how much power you want and the length of the run.
View this post on Instagram
Outlets and Switch Boxes Installation and Connection
The next step will involve the installation of outlet and switch boxes on your yurt walls. These boxes are easy to install, and your electrician will put them at the height of your choice. It would be best if you have the outlet boxes as well as the switch boxes at similar heights throughout the yurt.
When wires from your electric source are fixed and the subpanel, outlet boxes, and switch boxes have been installed in your yurt, your electrician will connect wires from the subpanel to the outlet and switch boxes. In most cases, electricians run a Romex cable instead of single cables. A Romex cable refers to a cable with multiple wires covered with a non-metallic sheathing and is often used for branching electric power.
The Romex cable will start from the breaker, which will be connected to the right bus bar in the subpanel. The electrician will arrange the wires in a linear series and connect them to their desired electrical fixtures according to your power needs.
Outlets, Switches, and Lighting Installation
Once the Romex cables are in place, your electrician will proceed to install outlets, switches, and lighting in your yurt. Wires from your Romex cables will be correctly attached to the outlets or switches, and the switches will be connected to appropriate lightings and dimmers. Outlets and switches have different colored screws matching the wires in the Romex cable for easy connections.
View this post on Instagram
Modern Conveniences
If your electrician did all the installations and connections correctly, you have electricity in your yurt. The electrician will flip the source breaker switch and flip the breakers in your subpanel to allow electricity to run in your yurt. You can start enjoying the electricity in your yurt as soon as possible by charging your devices, operating appliances, watching your favorite show on television, or turning your lights on. Your yurt can be just as cozy as a house with the modern conveniences electricity provides.

